45 how to print labels on cricut explore air 2
How To Use Cricut Print Then Cut / DIY Labels and Stickers In today's video you will see how easy is it to use Cricut's print then cut feature to make labels. I use it today to make some labels for strawberry jam. I also use this feature a lot to make... Using the Print then Cut Feature with Cricut Explore Air 2 Plus FREE ... You will be prompted by your printer to select print. Place your printed paper on the cutting mat and load into the machine. Make sure your dial is set to the appropriate material. Press the Cricut logo on the machine to start cutting. Press the double arrow button to unload once cutting is complete
Complete Print Then Cut Cricut Guide - Analytical Mommy LLC Make sure the shape is sized bigger than the images and/or text. Next center the two things and set the shape to the very very back. Now select all the layers and switch it to Print then Cut and then Flatten! there you go! Now you will be able to print the labels and cut the shape of the label out in one go!

How to print labels on cricut explore air 2
3 Ways To Make Labels With Your Cricut - YouTube It's a lot easier than you may think, and in this video, Rachel shows three different ways you can make labels with your Cricut. From drawing to print then cut, labels can be made easily and with... Print & Cut Label Tutorial in Cricut Design Space Take the printed page with the black border and place it on your mat. Load it in the machine with the "arrow" button, and Press the "C" button to start the print and cut. When the images are cut, remove the mat and you will have beautiful stickers. Please let me know if you have any questions or if one of the steps is not clear. Print and Cut with Cricut Explore Air 2 - YouTube Create this mini mother's Day banner using the free file download at and using the p...
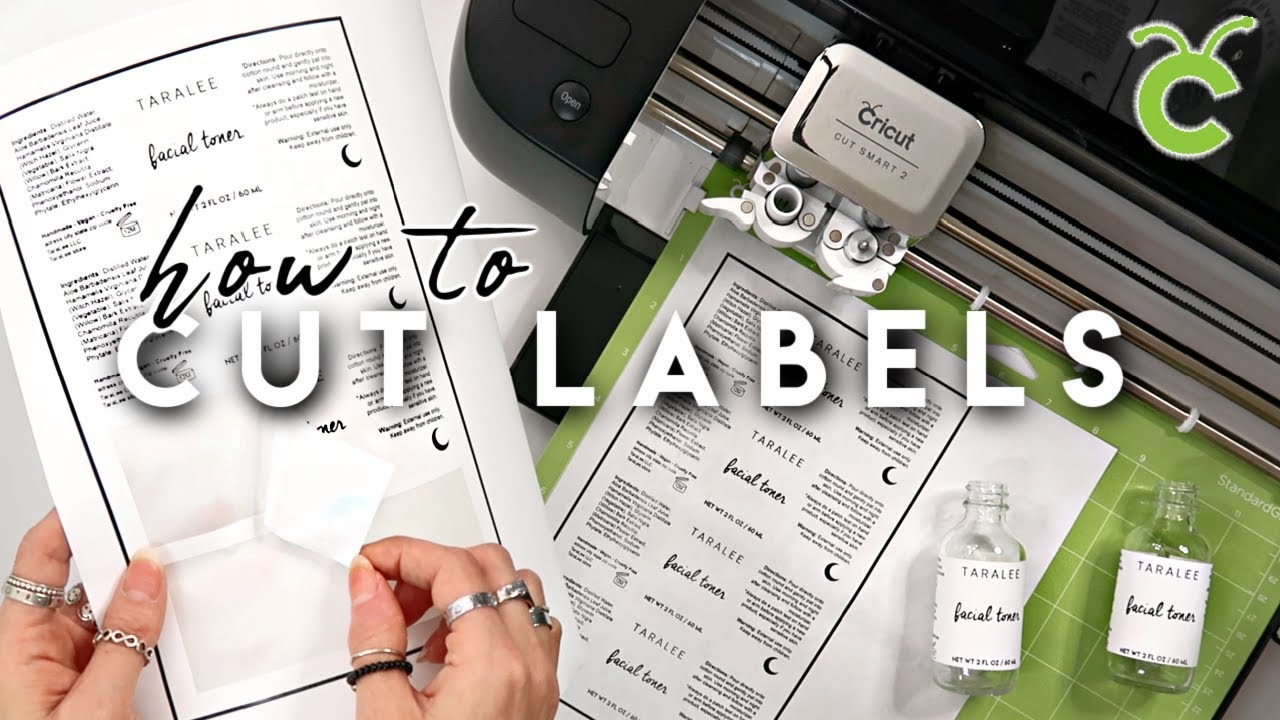
How to print labels on cricut explore air 2. How to make labels with Cricut - Cricut Make labels with Cricut Step 1 To design from scratch, click "New Project" on the home page of Cricut Design Space. Step 2 Once on the canvas, on the left-hand navigation bar, you'll see an option for "Images." Step 3 Click that button. You'll now be able to search in the Cricut image library! DIY pretty pantry and spice labels with the Cricut Explore Air 2 How to make gorgeous pantry and spice labels using the cricut explore air 2, vinyl and Oxo containers. Get your pantry organised! ... The Cricut Air Explore 2 used to create the labels in this post and the OXO containers were gifted to me for the purpose of this blog post. ... Print Pin Rate. Course: life. Prep Time: 10 minutes. Cook Time: 1 hour. How to Make a Craft Supplies Organizer | The Country Chic Cottage Click flatten in the lower right-hand corner to make this a print then cut label and it is ready for your machine! Be sure to delete any labels you don't want to use before continuing. Step 3: Making Printable Decorative Labels with Print Then Cut Now it is time to use print then cut to actually make our printable labels. How to Make Labels With Cricut | Pantry Labels | Diy Projects This video I am going to show you how I make my own labels using my cricut explore air 2 and picmonkey software! I've had my cricut for a couple years now and I will tell you, it's intimidating to...
Printable Clear Sticker Paper: Cutting and application instructions Explore: turn the Smart Set dial to "Custom" and select the "Clear Printable Sticker Paper" setting. Maker: select the "Clear Printable Sticker Paper" setting. Press CUT. Peel the sticker paper from the liner and apply by hand. Tip: Use only an inkjet printer. Print on the shiny side of Printable Clear Sticker Paper. The frosted side is ... Print and Cut Labels - Cricut Maker - YouTube Learn how to use the print and cut feature to create clear labels/ stickers.Affiliate Links:Amazon:Silhouette Clear Sticker Paper: ... How to Make Labels with a Cricut | The DIY Mommy - YouTube Learn how to make DIY vinyl labels with Cricut for organizing your home or labeling handmade products! Subscribe to my channel for more DIYs: ... Easy DIY Back to School Labels Made with a Cricut - The Quiet Grove Thanks to my Cricut Explore Air 2 making labels for my kid's supplies is quick and easy. (better even than handwriting them in permanent marker (and easier to read for sure.) While it is fine to use regular vinyl (and stranger tape) for larger labels. (Iike on each folder) when labeling small items (like crayons, pens, markers etc) I ...
Making Return Address Labels with your Cricut Explore - Mean Right Hook 1. First draw a square 2. Unlock it to make it a rectangle. I made mine 3.5 X 1 (I will say these are a little big, next time I'll make them more like 2.5 x 1) 3. Then write out your last name in the font of your choice. I picked Pilgi from my system fonts. 4. Select both your name layer and the rectangle layer, then weld them together 5. Print then Cut Stickers with the Cricut Explore Air 2 Next add type and change the color and change that to a write layer as well. Arrange your different pieces onto the sticker. Finally, select all the pieces of your sticker and choose Attach. This makes all of the pieces of the sticker into 1 file. Choose edit and change the size to 1.5 inch. Click Go and change the number to 20 and click apply. How to Make Stickers with Cricut Explore Air 2 - Print On Demand World And what if we show you how to get your stickers made, all by yourself, using the wonderful die-cutting machine, Cricut Explore Air 2? All you need is to: 1. Go to the Cricut Design Space App and open a new canvas 2. Upload your saved sticker file, adjust the paper's size and print it 3. Online Labels® Sticker Paper Cut Settings for Cricut Explore Air Our expert crafters have hand-tested the Cricut Explore Air™ with OnlineLabels sticker paper to bring you the exact cut settings for each material. Continue to the chart below to find the cut settings for kiss cut and full cut stickers. Materials were tested on a Cricut Explore Air with the fine-point blade.
Can You Make Stickers With The Cricut Explore Air 2 - CKERSTI
How to Make Product Labels using Cricut Explore Air 2 #cricutmade ⭐️ SHOP CRICUT EXPLORE AIR 2 blue - EXPLORE AIR 2 green - EXPLORE AIR 2 mint - http:/...

Cricut Print then Cut Summer Stickers - Hey, Let's Make Stuff
How to Make Stickers Using Cricut Explore Air 2 - SugaBaby Co Cricut Explore Air 2 Sticker Paper Color Printer Light Grip Mat Step 1 Upload your image from external source via PNG file or create an image in Cricut design space. (We love to choose images included with the Cricut subscription) Select the chosen image and add an OFFSET (found in the upper tool bar of design space).

How To Print Stickers On Cricut Explore Air 2 - RSTIKE
Print and Cut with Cricut Explore Air 2 - YouTube Create this mini mother's Day banner using the free file download at and using the p...

How To Print Stickers On Cricut Explore Air 2 - RSTIKE
Print & Cut Label Tutorial in Cricut Design Space Take the printed page with the black border and place it on your mat. Load it in the machine with the "arrow" button, and Press the "C" button to start the print and cut. When the images are cut, remove the mat and you will have beautiful stickers. Please let me know if you have any questions or if one of the steps is not clear.
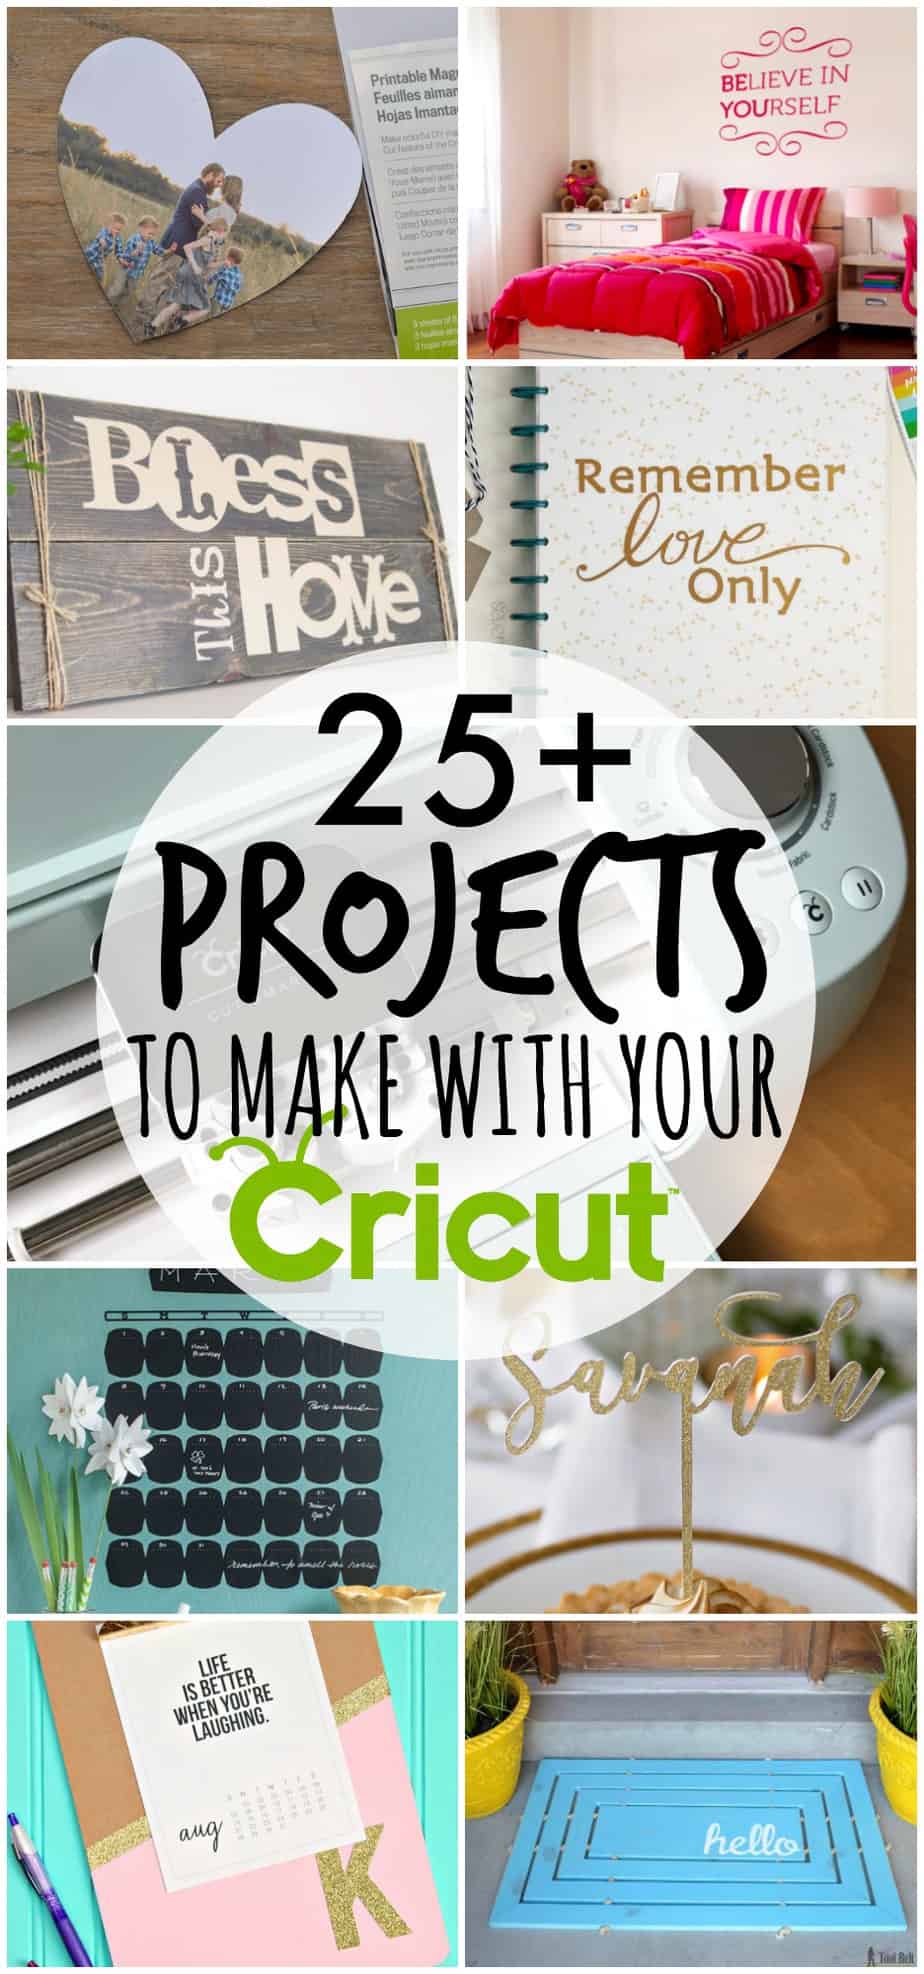
What Can I Make with My Cricut Explore Air 2? - Happy-Go-Lucky
3 Ways To Make Labels With Your Cricut - YouTube It's a lot easier than you may think, and in this video, Rachel shows three different ways you can make labels with your Cricut. From drawing to print then cut, labels can be made easily and with...
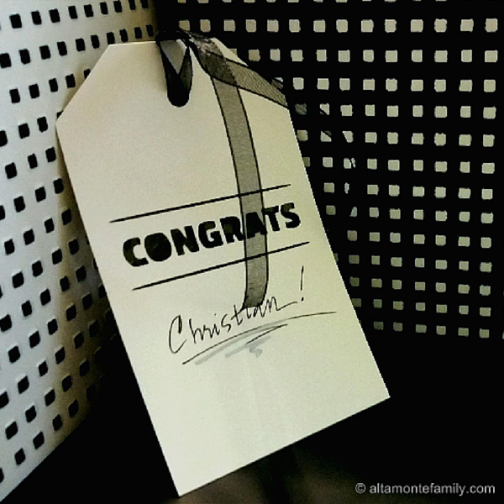
Cricut Explore Air Review - 3 Months Later | Altamonte Family

EASY DIY PANTRY LABELS WITH YOUR CRICUT | EVERYDAY JENNY

#Silhouette #projects #ideas #craft 50 Best Ideas for craft projects to sell silhouette cameobrp ...

How to Easily Apply Cricut Foil on Printable Vinyl! - Leap of Faith Crafting

What Can I Make with My Cricut Explore Air 2? - Happy-Go-Lucky

These Mini Wedding Tissue Boxes Are A MUST Make DIY Project!

30 Home Decor Projects You Can Make With a Cricut Explore | The Homes I Have Made

What Can I Make with My Cricut? - Fabulous Cricut Projects

Cricut Explore Air 2 | Cricut Learn
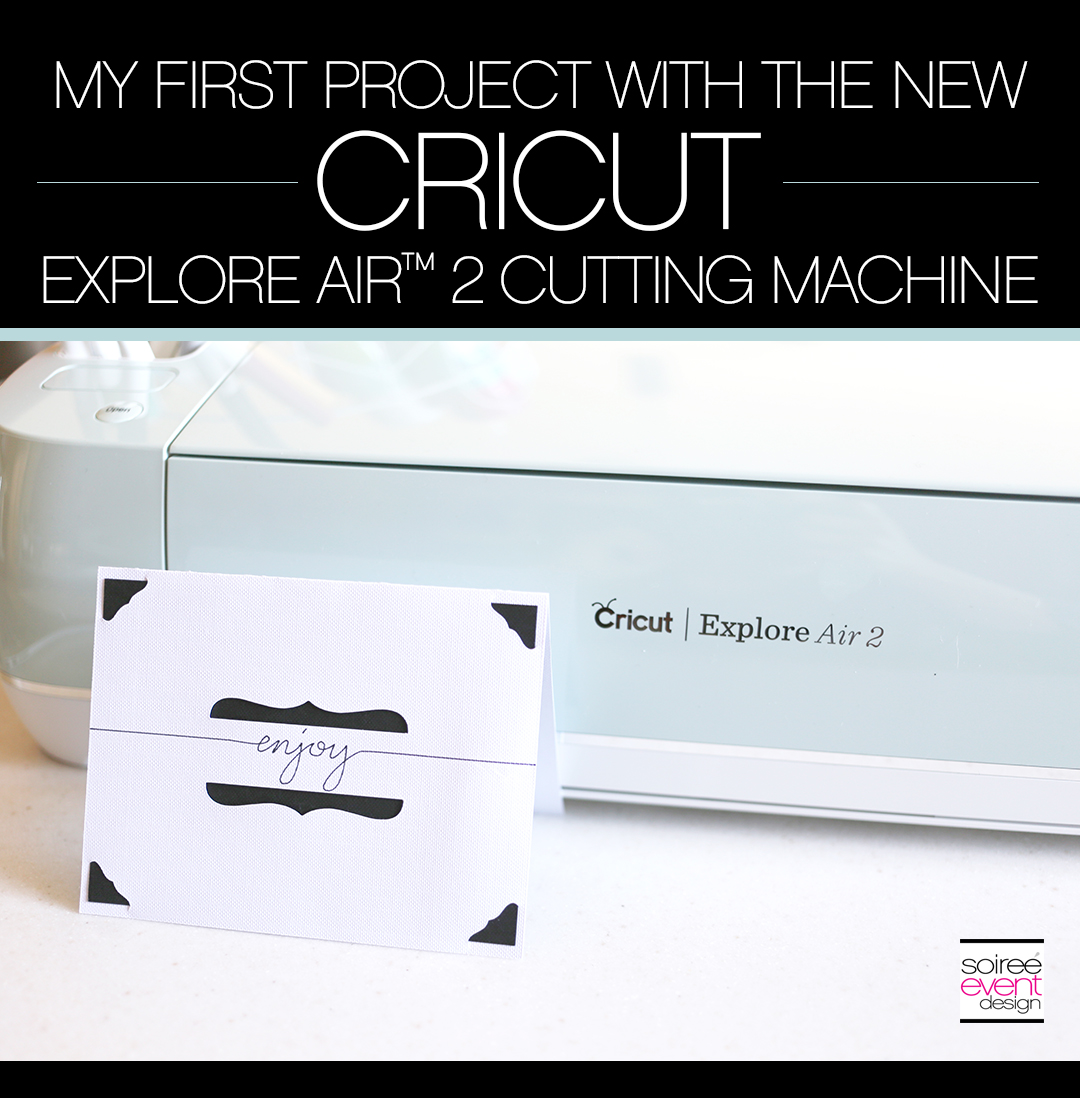
My First Project with the Cricut Explore Air™ 2 - Soiree Event Design

Best Cricut For Teachers (2020): Which is the Best Cricut For Your Classroom? - Compare Before ...
How to Make Product Labels using Cricut Explore Air 2 - YouTube
Post a Comment for "45 how to print labels on cricut explore air 2"